Custom packaging looks simple in the finished product — a clean box with your branding on it. What’s less visible is everything that happens between a first sketch and a box that actually fits your product, protects it in transit, and prints exactly as designed. Here’s what that process looks like from start to finish.
Key Takeaways
- Packaging design starts with the product’s actual dimensions and weight, not a template box size
- Structural design (folds, die-cuts) and print design are two separate steps that both need testing
- A physical proof before the full run catches fit and print issues that don’t show up on-screen
- Food and beverage packaging involves an added material-safety verification step
- Sustainable material options can be built into the process from the design stage, not added later
Starting With the Product, Not the Box
Measuring the Actual Product
The process starts with the product itself — its exact dimensions, weight, and any fragility considerations — rather than selecting from a range of stock box sizes and working backward. This produces packaging that fits snugly without excess void space, which affects both material use and how the product is protected in transit.
Considering How the Product Will Be Handled
Whether the packaging needs to survive shipping, sit on a retail shelf, or both, changes the structural requirements. A shelf-facing box prioritises visual presentation and shelf stability; a shipping-focused box prioritises impact and compression resistance.
Structural Design and Proofing
Designing the Structure Before the Artwork
Before any branding or print design happens, the physical structure — how the box folds, where die-cuts sit, whether there’s a window or insert — gets designed and tested. This is a distinct step from the visual design, and skipping it in favour of jumping straight to artwork is a common source of problems later.
Creating a Physical Prototype
A flat digital mockup doesn’t reveal how a box actually folds, whether a die-cut window lines up correctly, or how sturdy the structure feels once assembled. A physical prototype — even unprinted — catches structural issues before they’re compounded by a full print run.
Applying Branding and Artwork
Once the structure is confirmed, artwork gets applied to the flat die-line (the template showing exactly how the box will fold), accounting for how elements will appear once the box is assembled — a logo positioned incorrectly on the flat artwork can end up split across a fold line in the finished box.
Printing and Finishing
Digital vs. Offset Printing
Digital printing allows smaller, brand-specific runs without the setup requirements of traditional offset printing, making it well suited to newer product lines or smaller batch sizes. Offset printing generally suits higher-volume runs where its setup cost is spread across more units.
Finishing Touches
Lamination, foiling, embossing, and matte or gloss coatings are applied after printing to achieve the final look and feel. These choices affect not just appearance but durability — a matte lamination, for instance, resists fingerprints better than an uncoated surface.
Final Proof Before Full Production
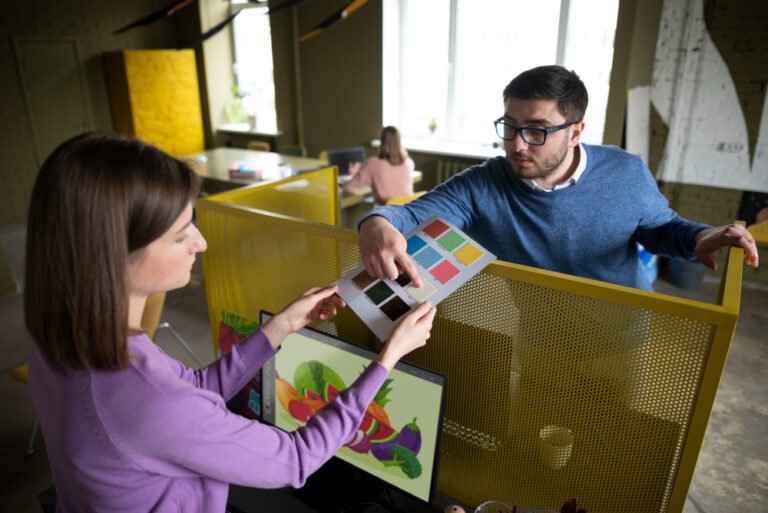
Before committing to the full print run, a final proof — ideally a fully assembled, printed sample — should be reviewed for colour accuracy, fold alignment, and any structural issues. This is the last checkpoint before a design decision becomes a full batch of physical boxes.
Frequently Asked Questions
Start Your Packaging Project
Send us your product’s dimensions and intended use, and we’ll walk you through structural design, proofing, and printing — all handled in-house in Al Barsha, Dubai.
Call us: +971 52 736 5843 | Email: info@novocosmos.net | Elite Business Tower, Al Barsha 1, Dubai